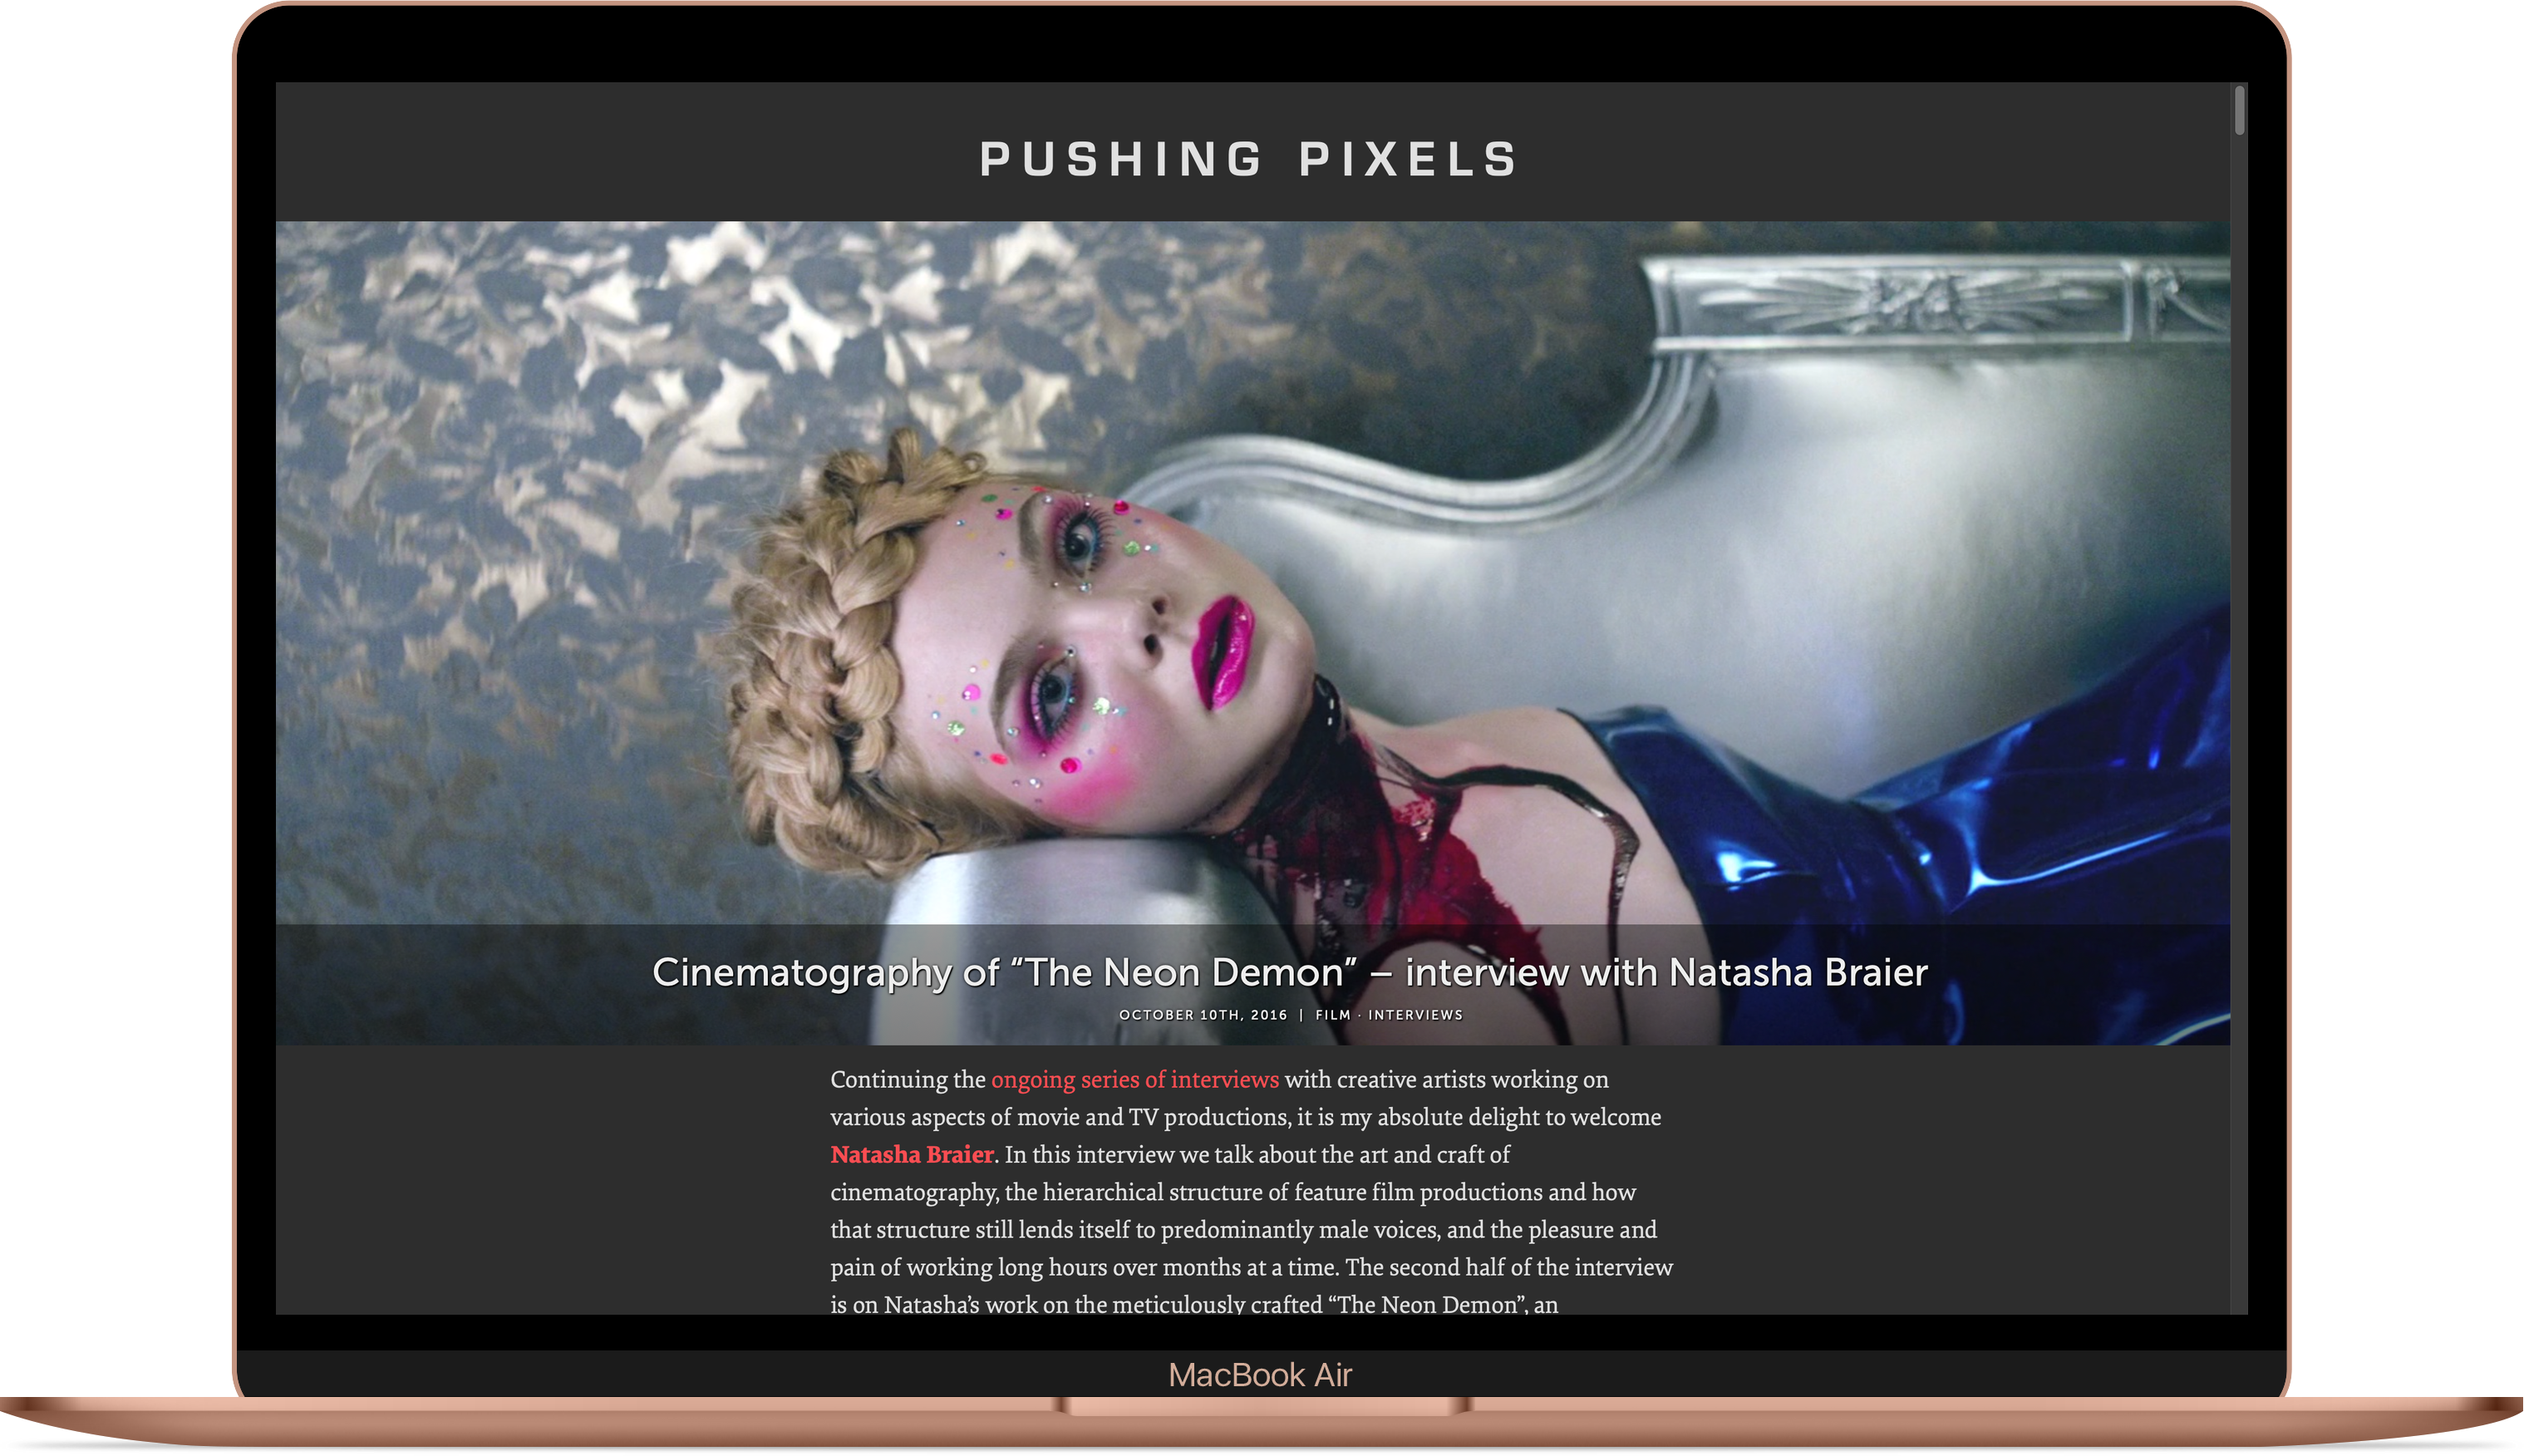
It certainly feels like this little web garden of mine is not quite done yet. Just a few short months ago I wrote about converting interviews to use immersive, full-bleed images. This is how it looked like back then:

Ever since I’ve been tweaking the custom layout of the intro section that combines the hero image, the title block and the name of this site (that leads to the main landing page):

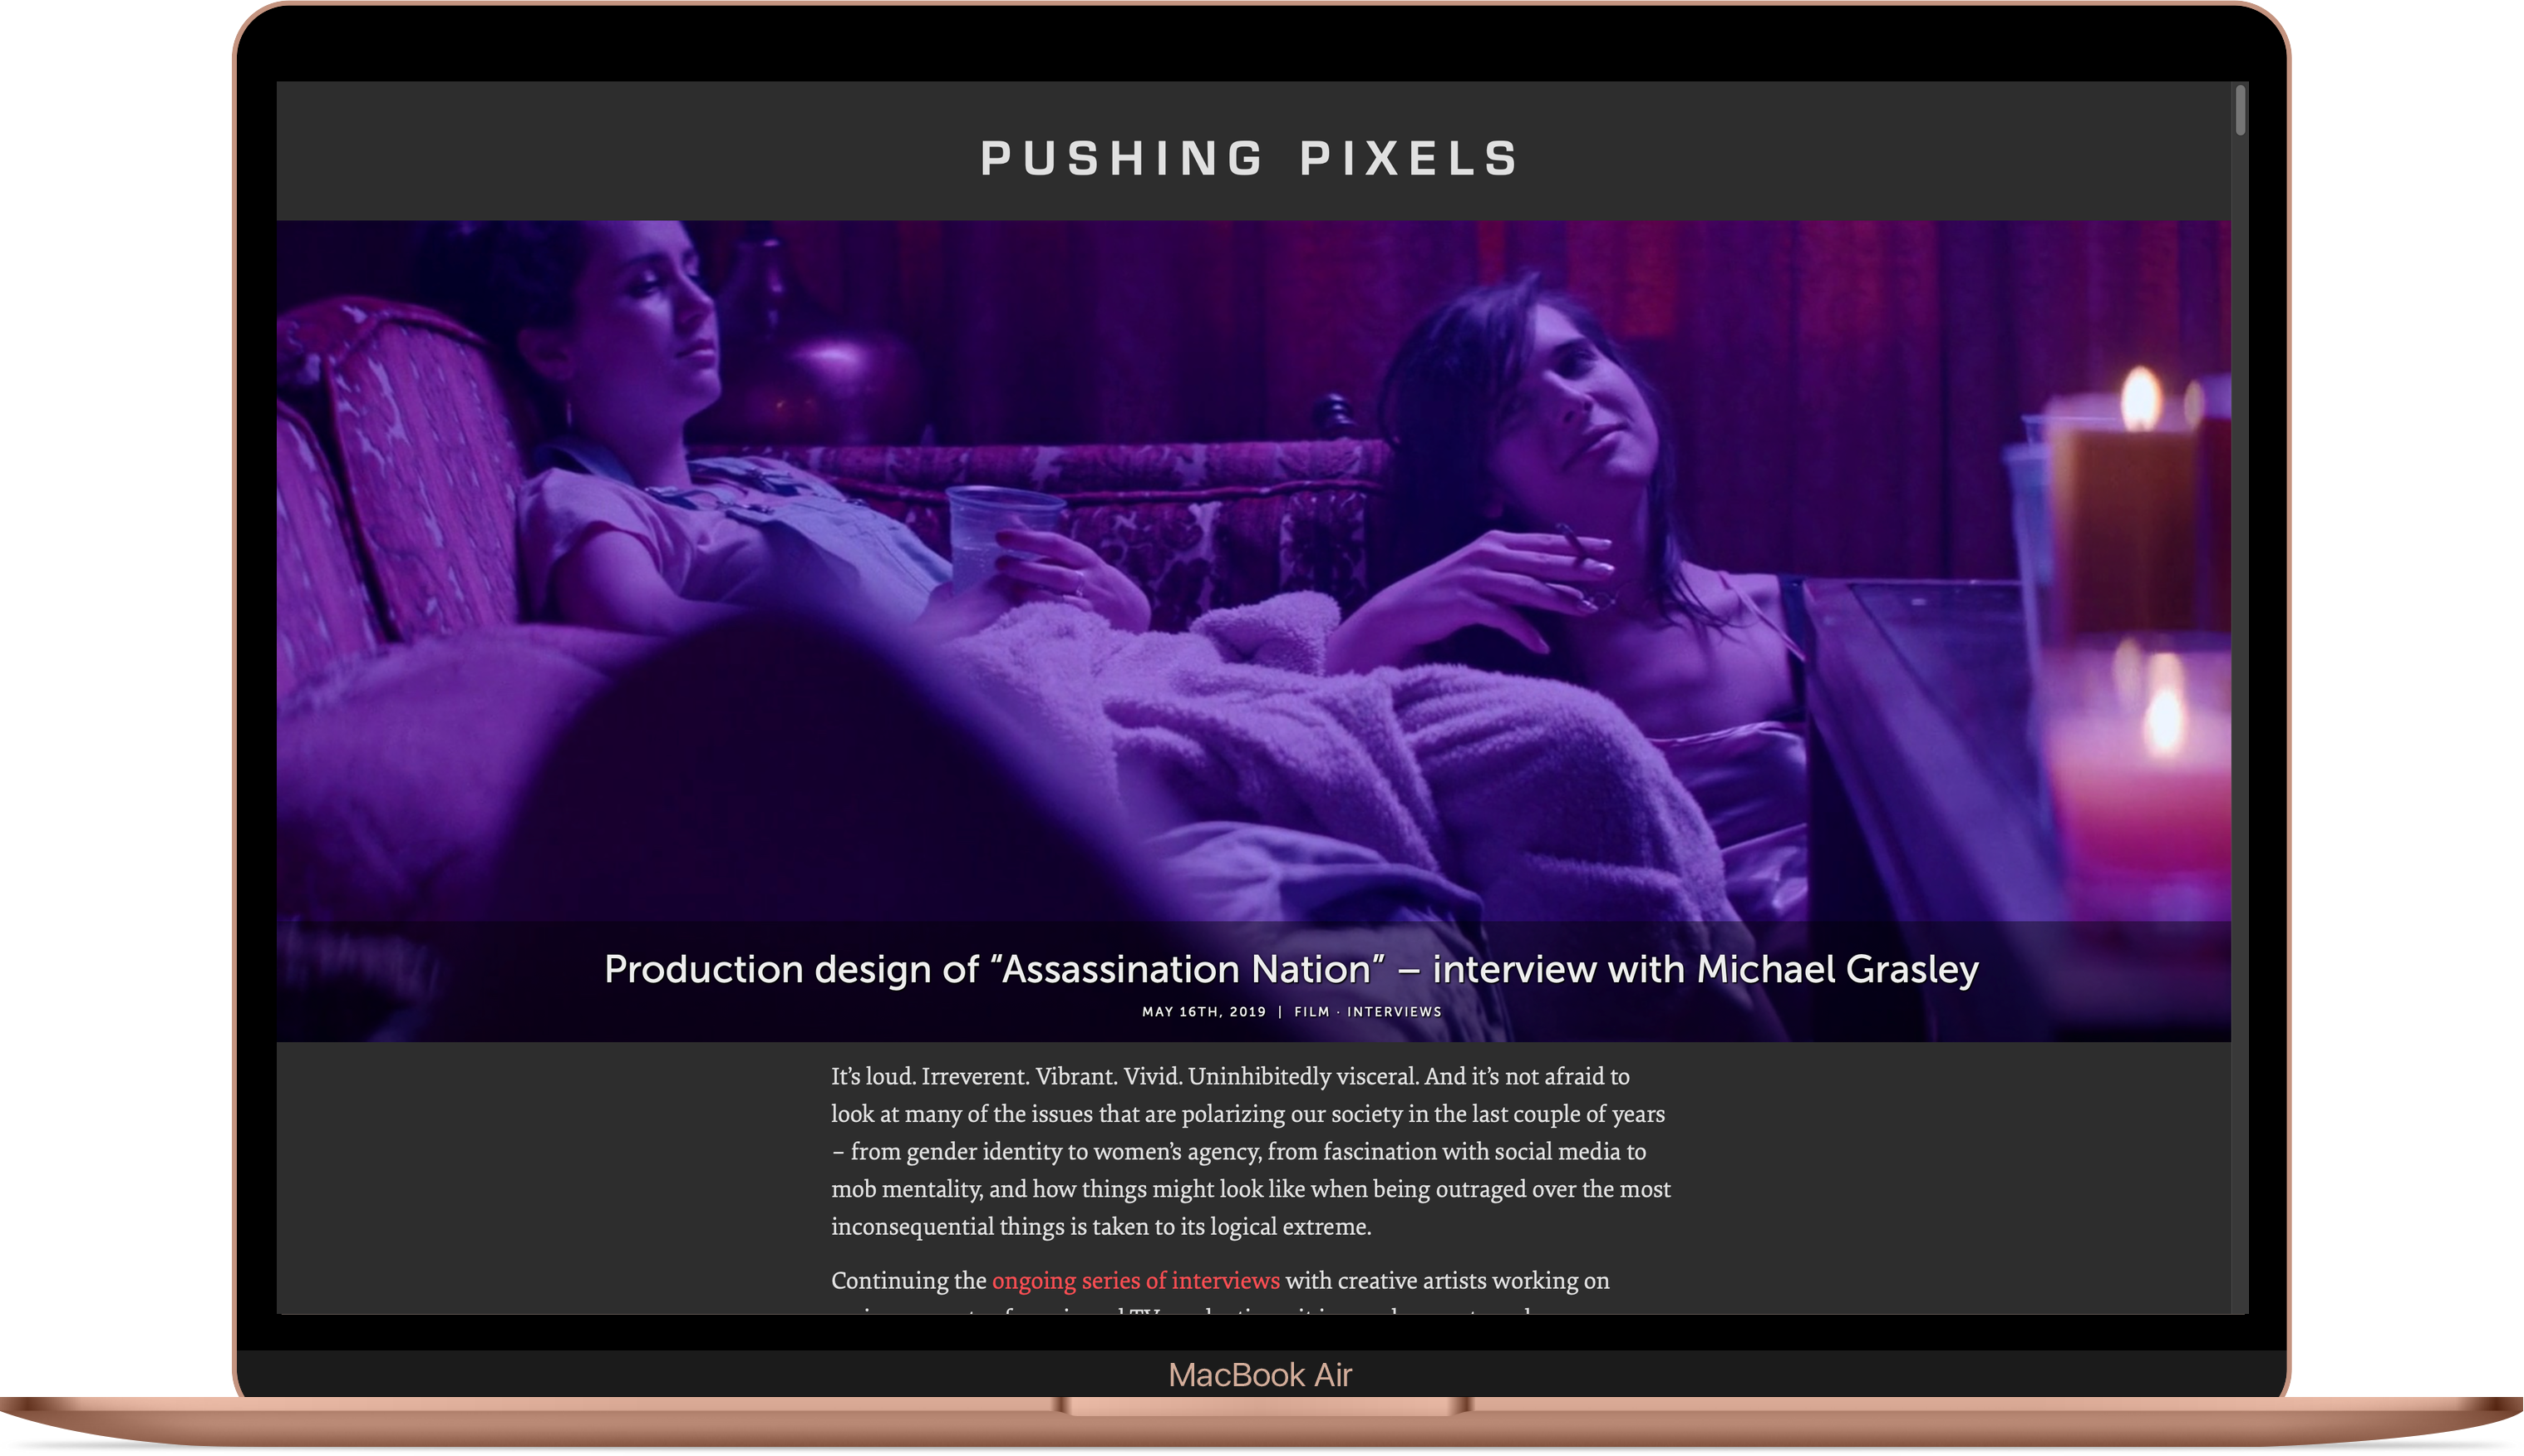
Now this combined section starts right at the top, and layers all the textual elements along the horizontal edges of the hero image. It brings together all of these elements in a single, unified, cohesive space. And it also gives extra vertical space to the interview introduction to be visible above the fold. This particular journey started in May 2019, and it might just be getting close to its conclusion. Onwards to the next chapter!
Radiance comes with a number of sample / demo apps that showcase the flexibility and power of its APIs. One of those demos is Lumen. Its main goal is to highlight the feature set of the Trident animation library. Lumen uses MusicBrainz JSON web service to search for all albums of the specific artist, and for the list of tracks on individual albums. Sending requests and parsing responses is done with Retrofit and Moshi. Lucent is the port of Lumen to Kotlin.
Let’s see how it works together in Kotlin.
We start by adding the build dependencies on Retrofit and Moshi:
dependencies {
    implementation "com.squareup.retrofit2:retrofit:2.9.0"
    implementation "com.squareup.retrofit2:converter-moshi:2.9.0"
}
Next, we define our service interface that maps to MusicBrainz APIs:
    private interface MusicBrainzService {
        @GET("/ws/2/release?type=album&fmt=json")
        fun getReleases(@Query("artist") artistId: String): Call<ReleaseList>

        @GET("/ws/2/release/{release}?inc=recordings&fmt=json")
        fun getRelease(@Path("release") releaseId: String): Call<Release>

        companion object {
            const val API_URL = "https://musicbrainz.org/"
        }
    }
Note the usage of fmt=json attribute in all @GET functions, and usage of @Query and @Path that matches the expected endpoint contracts.
The data classes map to the matching MusicBrainz entities, using @field:Json annotation with the matching name attribute, along with @Json annotation on one of the data classes to properly map it to the matching JSON tags:
data class SearchResultRelease(
        @field:Json(name = "id") val id: String?,
        @field:Json(name = "title") val title: String?,
        @field:Json(name = "artist") var artist: String?,
        @field:Json(name = "date") val date: String?,
        @field:Json(name = "release-events") val releaseEvents: List<ReleaseEvent>,
        @field:Json(name = "asin") val asin: String?)

data class Area(
        @field:Json(name = "disambiguation") val disambiguation: String?,
        @field:Json(name = "id") val id: String?,
        @field:Json(name = "name") var name: String?,
        @field:Json(name = "sort-name") val sortName: String?,
        @field:Json(name = "iso-3166-1-codes") val iso31661Codes: List<String>)

data class Medium(
        @field:Json(name = "tracks") val tracks: List<Track>)

data class Release(
        @field:Json(name = "id") val id: String?,
        @field:Json(name = "title") val title: String?,
        @field:Json(name = "date") val date: String?,
        @field:Json(name = "media") val media: List<Medium>,
        @field:Json(name = "asin") val asin: String?)

data class ReleaseEvent(
        @field:Json(name = "date") val date: String?,
        @field:Json(name = "area") val area: Area?)

@Json(name = "release-list")
data class ReleaseList(
        @field:Json(name = "count") val count: Int?,
        @field:Json(name = "releases") val releases: List<SearchResultRelease>)

data class Track(
        @field:Json(name = "title") val title: String?,
        @field:Json(name = "length") val length: Int?)
Now we can create a Retrofit object and fire off our request:
        val retrofit = Retrofit.Builder()
                .baseUrl(MusicBrainzService.API_URL)
                .client(getHttpClient())
                .addConverterFactory(MoshiConverterFactory.create())
                .build()

        val service = retrofit.create(MusicBrainzService::class.java)

        val releaseResponse = service.getReleases(artistId).execute()
        val releases = releaseResponse.body()
And to get the list of tracks for the specific album:
    fun doTrackSearch(releaseId: String): List<Track> {
        val retrofit = Retrofit.Builder()
                .baseUrl(MusicBrainzService.API_URL)
                .client(getHttpClient())
                .addConverterFactory(MoshiConverterFactory.create())
                .build()

        val service = retrofit.create(MusicBrainzService::class.java)

        val releaseResponse = service.getRelease(releaseId).execute()
        val release = releaseResponse.body()

        return release!!.media[0].tracks
    }
Where the OkHttpClient is configured like this:
    private fun getHttpClient(): OkHttpClient {
        val okHttpBuilder = OkHttpClient.Builder()
        okHttpBuilder.addInterceptor { chain ->
            val requestWithUserAgent = chain.request().newBuilder()
                    .header("User-Agent", "My custom user agent")
                    .build()
            chain.proceed(requestWithUserAgent)
        }
        return okHttpBuilder.build()
    }
This is it. No messy handling of HTTP requests, no manual parsing of JSON responses. All driven by metadata and encapsulated by Kotlin data classes.
One last thing I wanted to do with hero images for interviews. Now on larger (desktop / laptop sized) screens the interview title blurb is displayed on top of a translucent scrim along the bottom edge of the hero image. Maybe now I’m done for 2019…
As the follow-up to yesterday’s post about using edge-to-edge, full-width images in the interviews posted on this site, here’s the technical background on how this can be enabled in WordPress. First, add this snippet to your stylesheet:
.post .fullbleed {
  width: 100vw;
  position: relative;
  margin-left: -50vw;
  height: auto;
  left: 50%;
}
What do we have here? We start with the vw unit which in CSS stands for viewport units. This snippet says that an element marked as fullbleed should be positioned relatively to its normal position, with the combination of position, left and margin-left positioning it to start at the left edge of the viewport and span the entire viewport width. The height attribute forces the layout engine to preserve the original aspect ratio of your image.
If you have a breakpoint for smaller screen sizes, add the following snippet as well (tweaking the max-width media selector based on your breakpoint):
@media (max-width: 480px) {
  .post .fullbleed {
    max-width: 100vw;
  }
}
To make sure that an element marked as fullbleed continues spanning the entire viewport on smaller screens. From this point, any image marked with <img class="fullbleed"> will be shown in edge-to-edge, full-width mode. You can view such images in this interview.
The same technique can be applied to images that you want to appear wider than your main content column, but not necessarily full-width on larger screens. For example, here is the snippet for images that span 80% of the viewport width:
.post .halfbleed {
  width: 80vw;
  position: relative;
  margin-left: -40vw;
  height: auto;
  left: 50%;
}
Note that width and margin-left are updated to stay in “sync” (one as the double of the other), but left stays the same. On smaller screens, you can tweak such elements to span the full width of the viewport instead – overriding width and margin-left:
@media (max-width: 480px) {
  .post .halfbleed {
    max-width: 100vw;
    width: 100vw;
    margin-left: -50vw;
  }
}
From this point, any image marked with <img class="halfbleed"> will be shown in 80% viewport width on larger screens, and in edge-to-edge, full-width mode on smaller devices. You can view such images in this post.
Finally, how do you display a full-width hero image at the very top of your post, before the title block? We start with a couple of custom fields. You can find the “Custom fields” block right under the main editor area when you add or edit your WordPress post. Here I’m going to use image_before_title_url and image_before_title_caption as the names for these two custom fields, but of course you’re free to use your own names, as long as they are used consistently.
First, you need to configure your theme to emit the hero image block if it has the information for it. This is a one-time operation. Open the wp-content/themes/your-theme-name/index.php file and locate this line: <h1><a href="<?php the_permalink() ?>"><?php the_title(); ?></a></h1> (which might look a little bit different depending on your theme). Add the following section right before this line:
<?php $hero_url = get_post_meta( get_the_ID(),
      'image_before_title_url', true );
  if (is_single() and ($hero_url != '')) {
    echo '<img class="fullbleed" src="' . $hero_url . '"?>';
  }
?>

<?php $hero_caption = get_post_meta( get_the_ID(),
      'image_before_title_caption', true );
  if (is_single() and ($hero_caption != '')) {
    echo '<span class="caption">' . $hero_caption . '</span>';
  }
?>
Next, upload your hero image to the media section. After it’s done uploading, do not choose to insert it into the post. Instead, copy the full URL of that uploaded image. Now go to the “Custom fields” block and add a new field named image_before_title_url with that copied URL as the value. Optionally, if you want to display a caption under that hero image, add another field named image_before_title_caption with the caption as the value.
What do we have here? The first snippet checks the presence of the image_before_title_url custom field associated with the current post. If that field is present, it also checks whether we’re emitting a single post. I personally found that displaying the hero image before the post title block makes browsing your main page a bit more disorienting. If both conditions hold, it emits the <img class="fullbleed"> element with the source pointing to that custom field value. The second snippet checks the presence of the image_before_title_caption custom field, and emits the corresponding span.
You can see how a full-width hero image before the title block looks like in this interview.
