Onyx reloaded
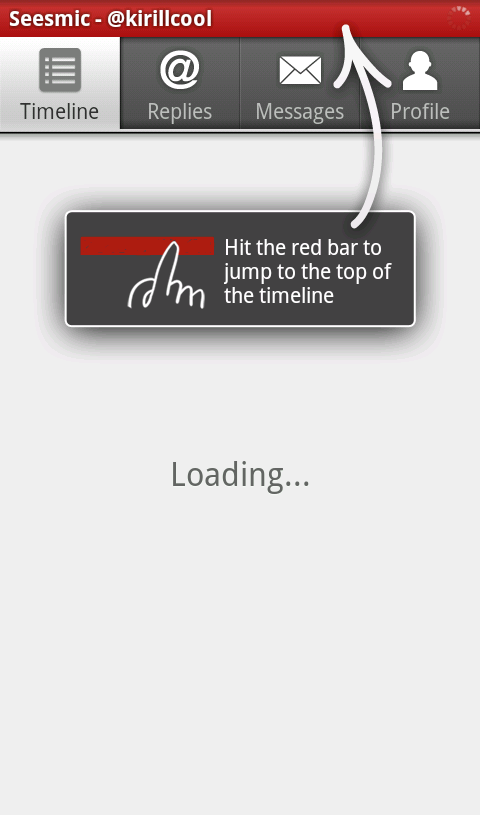
Exactly a year ago I’ve introduced project Onyx – animation blueprints for Swing using the Trident animation library. Onyx is a small application that loads album information for the specific artist from the Internet and displays it as a scrollable gallery. Here is how Onyx looked a year ago:

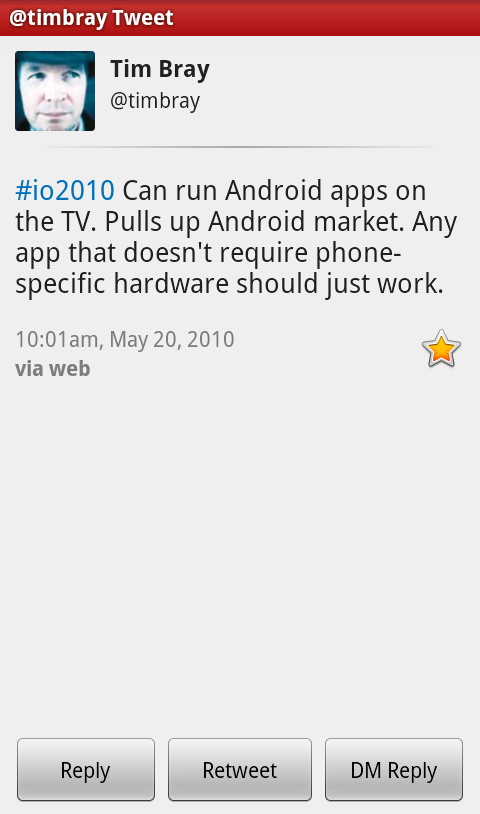
And here is how Onyx looks now:

Along with running on Java 6 (with Java 7 weekly binaries for Mac nowhere in sight), Onyx also has received a slight visual facelift for the main window. First, let’s see the code for disposing a window by fading it out:
public static void fadeOutAndDispose(final Window window,
      int fadeOutDuration) {
   Timeline dispose = new Timeline(window);

   try {
      Class clazz = Class.forName("com.sun.awt.AWTUtilities");
      final Method opacityMethod = clazz.getDeclaredMethod(
            "setWindowOpacity", Window.class, float.class);

      dispose.addPropertyToInterpolate(Timeline. property(
            "opacity").from(1.0f).to(0.0f).setWith(
            new PropertySetter() {
               @Override
               public void set(Object obj, String fieldName,
                     Float value) {
                  try {
                     opacityMethod.invoke(null, obj, value);
                  } catch (Exception exc) {
                     exc.printStackTrace();
                  }
               }
            }));
      dispose.addCallback(new UIThreadTimelineCallbackAdapter() {
         @Override
         public void onTimelineStateChanged(TimelineState oldState,
               TimelineState newState, float durationFraction,
               float timelinePosition) {
            if (newState == TimelineState.DONE) {
               window.dispose();
            }
         }
      });
      dispose.setDuration(fadeOutDuration);
      dispose.play();
   } catch (Exception exc) {
      exc.printStackTrace();
   }
}
With Java 7, you can simply do this:
dispose.addPropertyToInterpolate("opacity", 1.0f, 0.0f);
and let Trident call Window.setOpacity method at every timeline pulse. In Java 6 (starting with 6u10), the AWTUtilities.setWindowOpacity needs to be called on every pulse explicitly.
And here is the code for painting the main content window. First, we store the current clip and enable anti-aliasing:
@Override
protected void paintComponent(Graphics g) {
   Graphics2D g2d = (Graphics2D) g.create();
   Shape clip = g2d.getClip();

   g2d.setStroke(new BasicStroke(1.0f));
   g2d.setRenderingHint(RenderingHints.KEY_ANTIALIASING,
         RenderingHints.VALUE_ANTIALIAS_ON);
Next, we compute the outer and inner contours of the panel (the inner contour will be painted with slightly brighter colors as shown in the screenshot above):
   int radius = 16;

   Shape contour = new RoundRectangle2D.Double(0, 0, getWidth() - 1,
         getHeight() - 1, radius, radius);
   Shape innerContour = new RoundRectangle2D.Double(1, 1, getWidth() - 3,
         getHeight() - 3, radius - 1, radius - 1);
When the main window is first shown and disposed, a special timeline is played to make the window appear and disappear smoothly. The timeline interpolates the alpha field between 0.0 and 0.9. The main panel has two parts – the bright blue header and the black content. While the content is painted based on the current value of alpha, the header uses less translucency:
   g2d.setComposite(AlphaComposite.SrcOver.derive(1.0f - (float) Math.pow(
         1.0f - alpha, 3.0)));
To paint the header, we first update the current clip to make sure that the painting is only done in the header section. Next, we fill the contour, draw the inner contour and draw the outer contour – all based on the specific colors required by the target design:
   // top part
   g2d.clipRect(0, 0, getWidth(), TITLE_HEIGHT);
   g2d.setPaint(new LinearGradientPaint(0, 0, 0, TITLE_HEIGHT,
         new float[] { 0.0f, 0.49999f, 0.5f, 1.0f }, new Color[] {
               new Color(119, 152, 251), new Color(80, 127, 250),
               new Color(48, 109, 250), new Color(10, 97, 250) }));
   g2d.fill(contour);
   g2d.setPaint(new GradientPaint(0, 0, new Color(151, 179, 253), 0,
         TITLE_HEIGHT, new Color(19, 92, 233)));
   g2d.draw(innerContour);
   g2d.setColor(new Color(11, 61, 200));
   g2d.draw(contour);
Now we restore the clip:
g2d.setClip(clip);
If we have an artist name to display, we position it in the middle of the title area (using font ascent for proper baseline alignment) and paint the string twice to create a lighting effect:
   if (this.searchString != null) {
      g2d.setRenderingHint(RenderingHints.KEY_TEXT_ANTIALIASING,
            RenderingHints.VALUE_TEXT_ANTIALIAS_ON);
      g2d.setFont(UIManager.getFont("Label.font").deriveFont(14.0f)
            .deriveFont(Font.BOLD));
      int fa = g2d.getFontMetrics().getAscent();
      int x = (getWidth() - g2d.getFontMetrics().stringWidth(
            this.searchString)) / 2;
      int y = (TITLE_HEIGHT + fa) / 2;
      g2d.setColor(new Color(31, 60, 114));
      g2d.drawString(this.searchString, x, y + 1);
      g2d.setColor(new Color(255, 255, 255));
      g2d.drawString(this.searchString, x, y);
   }
The main content area is painted in the same way as the header. We update the clip, fill the contour, draw the inner contour and draw the outer contour:
   // bottom part
   g2d.setComposite(AlphaComposite.SrcOver.derive(this.alpha));
   g2d.clipRect(0, TITLE_HEIGHT, getWidth(), getHeight() - TITLE_HEIGHT
         + 1);

   g2d.setColor(new Color(0, 0, 0));
   g2d.fill(contour);
   g2d.setPaint(new GradientPaint(0, TITLE_HEIGHT, new Color(57, 56, 57),
         0, getHeight() - TITLE_HEIGHT, new Color(50, 48, 50)));
   g2d.draw(innerContour);
   g2d.setPaint(new GradientPaint(0, TITLE_HEIGHT, new Color(13, 11, 15),
         0, getHeight() - TITLE_HEIGHT, new Color(15, 8, 13)));
   g2d.draw(contour);
Finally, we draw a single line separator between the title and main content areas:
   // separator
   g2d.setClip(clip);
   g2d.setColor(new Color(12, 11, 12));
   g2d.drawLine(1, TITLE_HEIGHT, getWidth() - 2, TITLE_HEIGHT);

   g2d.dispose();
}
To see the latest Onyx in action, click on the button below to launch the WebStart demo. Use the mouse wheel to scroll between the albums. Click a specific album to show a larger cover and the track list.

If you cannot run the demo, here is a short video of Onyx in action: